Written by Allen Wyatt (last updated March 30, 2024)
This tip applies to Excel 2007, 2010, 2013, 2016, 2019, 2021, and Excel in Microsoft 365
Brian has a complex workbook that opens other supporting workbooks very briefly and then closes them, saving changes. He has an office with three people that use his macros, and on occasion they get a conflict where two people are trying to get a purchase order number at the same time. This causes the PO workbook to open in 'read only' mode for the second occurrence, which is confusing to users. Brian wonders if there is a line of VBA code that will stop the 'open workbook' command if the target workbook is already open by a different user. That way he could catch potential problems before they occur.
It is much easier to have your code, after opening, check to see if the workbook opened in read-only mode. If it did, then you can take an action appropriate to your situation. (For instance, you could close the workbook, wait a short period, and retry the operation and test.) Here's how you can check to see the read-only status:
Set wkBook1 = Workbooks.Open("c:\MyBigBook.xlsx")

If wkBook1.ReadOnly Then
    wkBook1.Close False
End If
Note that it is the ReadOnly property that yields the desired info. If you need to check the file ahead of time, you might try using some of the file-access statements available in VBA. That's what the following function does.
Function FileIsLocked(strFileName As String) As Boolean
    FileIsLocked = False
    On Error Resume Next
    Open strFileName For Binary Access Read Write Lock Read Write As #1
    Close #1

    ' If an error occurs, the document is currently open
    If Err.Number <> 0 Then
       FileIsLocked = True
       Err.Clear
    End If
End Function
To use the function, pass it the name (including full path) of the workbook you want to check. The function returns True if the file is locked and False if it isn't. Remember, though, that from the time this function checks the file to the time that you actually try to open the file, it could have been opened by someone else. Thus, the first approach (checking after trying to open) may be the best approach to use.)
It should be noted, as well, that you could also save the other workbooks as shared workbooks. This would allow them to be opened by multiple users with no problems. Of course, you'll want to check how this approach affects the data you may be wanting to save in the workbooks.
Note:
ExcelTips is your source for cost-effective Microsoft Excel training. This tip (5831) applies to Microsoft Excel 2007, 2010, 2013, 2016, 2019, 2021, and Excel in Microsoft 365.

Program Successfully in Excel! This guide will provide you with all the information you need to automate any task in Excel and save time and effort. Learn how to extend Excel's functionality with VBA to create solutions not possible with the standard features. Includes latest information for Excel 2024 and Microsoft 365. Check out Mastering Excel VBA Programming today!
Need to know the address of the cell that is currently selected? The function and macro highlighted in this tip will come ...
Discover MoreIf your macro processes information on a number of worksheets, chances are good that you need your macro to figure out ...
Discover MoreWhen developing a macro that others may use, you might want to test it out to make sure it works properly if a filter is ...
Discover MoreFREE SERVICE: Get tips like this every week in ExcelTips, a free productivity newsletter. Enter your address and click "Subscribe."
2024-03-30 15:54:37
J. Woolley
I suggest modifying the Tip's first VBA code block as follows:
Set wkBook1 = Workbooks.Open("c:\MyBigBook.xlsx")
If wkBook1.ReadOnly Then
wkBook1.ChangeFileAccess Mode:=xlReadWrite, Notify:=True
End If
If the workbook was previously opened by others, the first message will be displayed (see Figure 1 below) and it will be opened in read-only mode. If the user clicks Notify in the first message, then when all others have closed the workbook the second message will be displayed (see Figure 2 below) and the user can reopen the workbook in read-write mode, with the third message (see Figure 3 below) displaying available options.
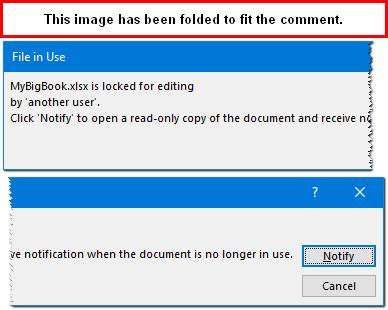
Figure 1.
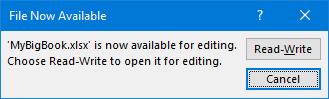
Figure 2.
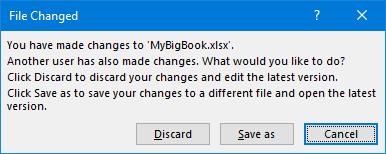
Figure 3.
Got a version of Excel that uses the ribbon interface (Excel 2007 or later)? This site is for you! If you use an earlier version of Excel, visit our ExcelTips site focusing on the menu interface.
FREE SERVICE: Get tips like this every week in ExcelTips, a free productivity newsletter. Enter your address and click "Subscribe."
Copyright © 2025 Sharon Parq Associates, Inc.
Comments