Please Note: This article is written for users of the following Microsoft Excel versions: 2007, 2010, 2013, 2016, 2019, and 2021. If you are using an earlier version (Excel 2003 or earlier), this tip may not work for you. For a version of this tip written specifically for earlier versions of Excel, click here: Checking Lock Status of Cells.
Excel allows you to easily change whether a cell is formatted as locked or unlocked. This attribute is handled on a cell-by-cell basis, even though the effects of the locking (or unlocking) are not evident until such point as you protect the entire worksheet.
Since locking and unlocking can be done on an individual cell basis, you may wonder if there is a way to display the lock status (locked or unlocked) of all your cells in a worksheet, at one time, without the need to check each cell individually.
The default lock status for cells is locked, so it probably makes more sense to select those cells that are unlocked. One way you can do that is to follow these steps:
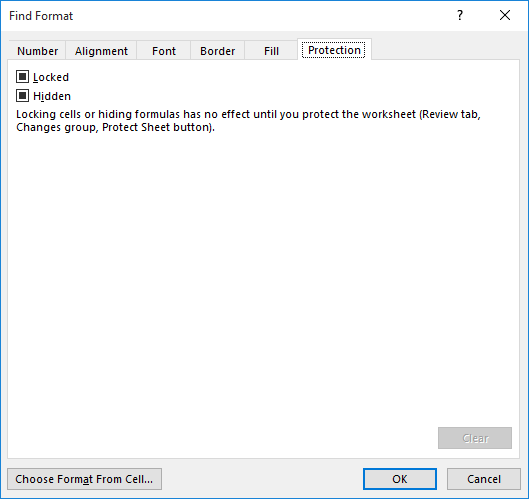
Figure 1. The Protection tab of the Find Format dialog box.
At this point, Excel will do one of two things. If it finds any unlocked cells, the addresses of those cells are listed on the screen. If it doesn't find any unlocked cells, then it informs you that it can't find them.
You can also use conditional formatting to highlight unlocked cells. Follow these steps:
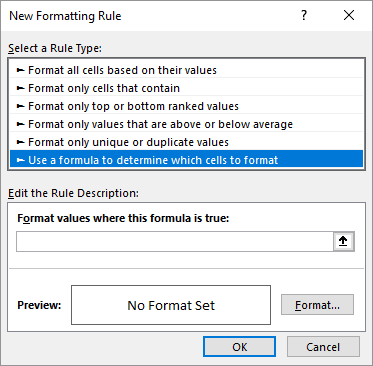
Figure 2. The New Formatting Rule dialog box.
=CELL("protect",A1)=0
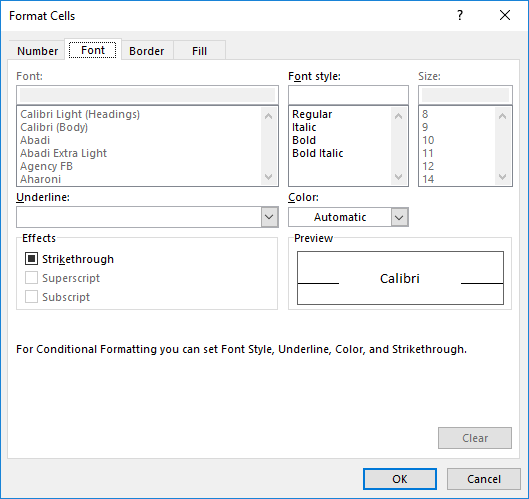
Figure 3. The Format Cells dialog box.
Now all the cells in your worksheet that are unlocked will have the formatting you defined in step 7.
ExcelTips is your source for cost-effective Microsoft Excel training. This tip (10766) applies to Microsoft Excel 2007, 2010, 2013, 2016, 2019, and 2021. You can find a version of this tip for the older menu interface of Excel here: Checking Lock Status of Cells.

Professional Development Guidance! Four world-class developers offer start-to-finish guidance for building powerful, robust, and secure applications with Excel. The authors show how to consistently make the right design decisions and make the most of Excel's powerful features. Check out Professional Excel Development today!
Excel allows you to protect your worksheets so they can only be changed as you want to have happen. If you unprotect a ...
Discover MoreWhen you are developing a worksheet for others to use, you might want to protect some of the information in that ...
Discover MoreYou've protected and saved your worksheet with explicit instructions that you be allowed to insert and delete rows. But ...
Discover MoreFREE SERVICE: Get tips like this every week in ExcelTips, a free productivity newsletter. Enter your address and click "Subscribe."
2022-01-13 19:53:16
Jim
This does not appear to work when Excel is opened in the browser. Any ideas?
Got a version of Excel that uses the ribbon interface (Excel 2007 or later)? This site is for you! If you use an earlier version of Excel, visit our ExcelTips site focusing on the menu interface.
FREE SERVICE: Get tips like this every week in ExcelTips, a free productivity newsletter. Enter your address and click "Subscribe."
Copyright © 2026 Sharon Parq Associates, Inc.
 Please Note:
This article is written for users of the following Microsoft Excel versions: 2007, 2010, 2013, 2016, 2019, and 2021. If you are using an earlier version (Excel 2003 or earlier), this tip may not work for you. For a version of this tip written specifically for earlier versions of Excel, click here:
Please Note:
This article is written for users of the following Microsoft Excel versions: 2007, 2010, 2013, 2016, 2019, and 2021. If you are using an earlier version (Excel 2003 or earlier), this tip may not work for you. For a version of this tip written specifically for earlier versions of Excel, click here:
Comments