Please Note: This article is written for users of the following Microsoft Excel versions: 2007, 2010, 2013, 2016, 2019, 2021, and Excel in Microsoft 365. If you are using an earlier version (Excel 2003 or earlier), this tip may not work for you. For a version of this tip written specifically for earlier versions of Excel, click here: Macro for Month Name.
Brian is looking for a macro that returns the full name of the current month, such as July, August, etc. Before getting to the macros, it should be mentioned that depending on your needs, you can get the desired information with one of several formulas. Perhaps the easiest formula is the following:
=Today()
Place the formula into a cell, and you end up with today's date. Format the cell using a custom format, and you end up with the full month name. The custom format is applied by using these steps:
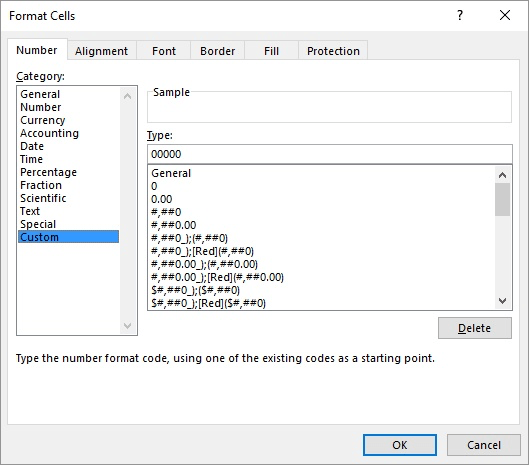
Figure 1. The Number tab of the Format Cells dialog box.
Another formulaic approach is to use the following in a cell:
=Text(Today(),"mmmm")
No special formatting is required; the formula returns the text of the full month name for whatever today is. Finally, you could use an even longer formula that simply picks the month name from a list of months:
=CHOOSE(MONTH(NOW()),"January","February",
"March","April","May","June","July",
"August","September","October","November",
"December")
Remember that this is a single formula; it goes all in one cell.
Which brings us, finally, to the macros. If you want a macro that returns the month name in the current cell, you are looking for a user-defined function:
Function GetMonth()
    Application.Volatile
    GetMonth = MonthName(Month(Date))
End Function
This simple two-line macro dynamically returns the month name for whatever the current date is. Just put this formula in a cell:
=GetMonth()
Remember—since you've just added a macro to your workbook, you'll be asked whenever you open your workbook if you want to enable macros. If you don't want to see this question all the time, you should use one of the formulaic approaches presented earlier.
Note:
ExcelTips is your source for cost-effective Microsoft Excel training. This tip (12447) applies to Microsoft Excel 2007, 2010, 2013, 2016, 2019, 2021, and Excel in Microsoft 365. You can find a version of this tip for the older menu interface of Excel here: Macro for Month Name.

Excel Smarts for Beginners! Featuring the friendly and trusted For Dummies style, this popular guide shows beginners how to get up and running with Excel while also helping more experienced users get comfortable with the newest features. Check out Excel 2019 For Dummies today!
When sharing workbooks with others, you may find that the macros in those workbooks may not work as you expect. This tip ...
Discover MoreHaving problems with using macros in a protected workbook? There could be any number of causes (and solutions) as ...
Discover MoreNeed to pull a list of words from a range of cells? This tip shows how easy you can perform the task using a macro.
Discover MoreFREE SERVICE: Get tips like this every week in ExcelTips, a free productivity newsletter. Enter your address and click "Subscribe."
There are currently no comments for this tip. (Be the first to leave your comment—just use the simple form above!)
Got a version of Excel that uses the ribbon interface (Excel 2007 or later)? This site is for you! If you use an earlier version of Excel, visit our ExcelTips site focusing on the menu interface.
FREE SERVICE: Get tips like this every week in ExcelTips, a free productivity newsletter. Enter your address and click "Subscribe."
Copyright © 2026 Sharon Parq Associates, Inc.
 Please Note:
This article is written for users of the following Microsoft Excel versions: 2007, 2010, 2013, 2016, 2019, 2021, and Excel in Microsoft 365. If you are using an earlier version (Excel 2003 or earlier), this tip may not work for you. For a version of this tip written specifically for earlier versions of Excel, click here:
Please Note:
This article is written for users of the following Microsoft Excel versions: 2007, 2010, 2013, 2016, 2019, 2021, and Excel in Microsoft 365. If you are using an earlier version (Excel 2003 or earlier), this tip may not work for you. For a version of this tip written specifically for earlier versions of Excel, click here:
Comments