Robert frequently uses one workbook wherein he opens at least two windows in which to work, selecting worksheets from multiple tabs. (He doesn't do this for all workbooks, just for this one.) He sets titles and uses the zoom feature to 80% to get more of the worksheets on-screen. Every now and then, after saving the workbook and reopening it later, the titles and zoom factor on a particular worksheet have been reset, and Robert has to go through the procedure of resetting them again. He wonders if there is a way to ensure the titles and zoom factor are remembered when saving.
There are a few things you can try. First, you could create a macro that runs every time the workbook opens. This macro could set up your worksheets the way you want. For instance, the following macro sets the zoom factor for the window to 80%.
Private Sub Workbook_Open()
    ActiveWindow.Zoom = 80
End Sub
Just put the macro in the ThisWorkbook module and it will work fine. You could also modify it to add other setup that you want done.
If you prefer not to use a macro, then you can set up your worksheets as you want and then save them as a custom view. Just follow these steps:
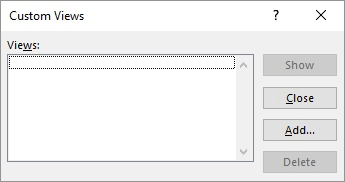
Figure 1. The Custom Views dialog box.
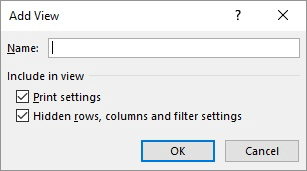
Figure 2. The Add View dialog box.
When you later want to use the custom view, just click the Custom Views tool again, choose the view you want, then click Show.
The final suggestion is to save as a workspace. The primary difference between workspaces and custom views is that workspaces allow you to remember all the workbooks you had open when you saved the workspace. You use the tool by, once again, displaying the View tab of the ribbon and clicking the Save Workspace tool. You can then provide a name for the workspace, and it is stored in a file that uses the extension .XLW.
There is one thing to note here: The "save as workspace" suggestion won't work in Excel 2013 or later versions, only in Excel 2007 or Excel 2010. The feature was removed completely from Excel 2013; you can't even find it as a command to be added to the QAT or ribbon. According to Microsoft sources, the feature has been deprecated.
ExcelTips is your source for cost-effective Microsoft Excel training. This tip (12586) applies to Microsoft Excel 2007, 2010, 2013, 2016, 2019, 2021, and Excel in Microsoft 365.

Create Custom Apps with VBA! Discover how to extend the capabilities of Office 365 applications with VBA programming. Written in clear terms and understandable language, the book includes systematic tutorials and contains both intermediate and advanced content for experienced VB developers. Designed to be comprehensive, the book addresses not just one Office application, but the entire Office suite. Check out Mastering VBA for Microsoft Office 365 today!
All good things must come to an end at some point. When you are done sharing your workbook with others, this is how you ...
Discover MoreWhen you delete items from a workbook, it is natural to think that the workbook's file size should decrease. This may not ...
Discover MoreNeed to open a bunch of workbooks from within Excel? It's easy to do when you construct a selection set in the Open ...
Discover MoreFREE SERVICE: Get tips like this every week in ExcelTips, a free productivity newsletter. Enter your address and click "Subscribe."
There are currently no comments for this tip. (Be the first to leave your comment—just use the simple form above!)
Got a version of Excel that uses the ribbon interface (Excel 2007 or later)? This site is for you! If you use an earlier version of Excel, visit our ExcelTips site focusing on the menu interface.
FREE SERVICE: Get tips like this every week in ExcelTips, a free productivity newsletter. Enter your address and click "Subscribe."
Copyright © 2026 Sharon Parq Associates, Inc.
Comments