Please Note: This article is written for users of the following Microsoft Excel versions: 2007, 2010, 2013, 2016, 2019, and 2021. If you are using an earlier version (Excel 2003 or earlier), this tip may not work for you. For a version of this tip written specifically for earlier versions of Excel, click here: Adding the Set Print Area Tool.
If you have the need to define different areas of a worksheet to print, you know that you can do so by simply defining different print areas in your worksheet. The normal way you do this is to select the range of cells you want in the print area, display the Page Layout tab of the ribbon, click the Print Area tool (in the Page Setup group), and then choose Set Print Area.
If you need to change print areas quite often, these steps may get tiresome. You may be interested in speeding things up a bit by adding a tool to the Quick Access toolbar that defines the print area. Follow these steps:
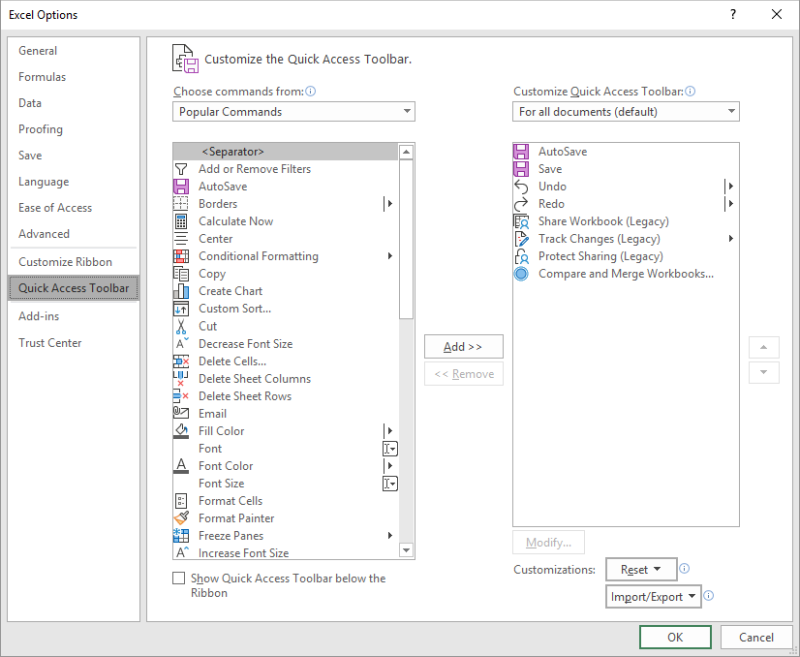
Figure 1. The Customize area of the Excel Options dialog box.
Now, when you need to set a print area, you simply choose the area on the screen and click on the Set Print Area button.
ExcelTips is your source for cost-effective Microsoft Excel training. This tip (9842) applies to Microsoft Excel 2007, 2010, 2013, 2016, 2019, and 2021. You can find a version of this tip for the older menu interface of Excel here: Adding the Set Print Area Tool.

Professional Development Guidance! Four world-class developers offer start-to-finish guidance for building powerful, robust, and secure applications with Excel. The authors show how to consistently make the right design decisions and make the most of Excel's powerful features. Check out Professional Excel Development today!
Need the same print range set for different worksheets in the same workbook? It can't be done in one step manually, but ...
Discover MoreNeed to print several portions of a worksheet all on a single piece of paper? Here's an easy way you can get what you ...
Discover MorePrint areas are a great way to define what, exactly, you want to print from a worksheet. When you copy worksheets, the ...
Discover MoreFREE SERVICE: Get tips like this every week in ExcelTips, a free productivity newsletter. Enter your address and click "Subscribe."
There are currently no comments for this tip. (Be the first to leave your comment—just use the simple form above!)
Got a version of Excel that uses the ribbon interface (Excel 2007 or later)? This site is for you! If you use an earlier version of Excel, visit our ExcelTips site focusing on the menu interface.
FREE SERVICE: Get tips like this every week in ExcelTips, a free productivity newsletter. Enter your address and click "Subscribe."
Copyright © 2026 Sharon Parq Associates, Inc.
 Please Note:
This article is written for users of the following Microsoft Excel versions: 2007, 2010, 2013, 2016, 2019, and 2021. If you are using an earlier version (Excel 2003 or earlier), this tip may not work for you. For a version of this tip written specifically for earlier versions of Excel, click here:
Please Note:
This article is written for users of the following Microsoft Excel versions: 2007, 2010, 2013, 2016, 2019, and 2021. If you are using an earlier version (Excel 2003 or earlier), this tip may not work for you. For a version of this tip written specifically for earlier versions of Excel, click here:
Comments