Using X of Y in a Page Footer

Written by Allen Wyatt (last updated May 18, 2024)
This tip applies to Excel 2007, 2010, 2013, 2016, 2019, 2021, and Excel in Microsoft 365


Terry remembers that "back in the day" he could add a page footer to a worksheet such as "Page X of Y," where X is the current page and Y is the total number of pages. He can no longer remember how to add such a footer, however.

Actually, there are two ways you can add such a footer to your worksheets. The traditional method (which is probably what Terry is seeking) is to follow these steps:

  1. Click the Page Layout tab of the ribbon.
  2. Click the small icon at the bottom-right of the Page Setup group. Excel displays the Page Setup dialog box.
  3. Make sure the Header/Footer tab is displayed. (See Figure 1.)
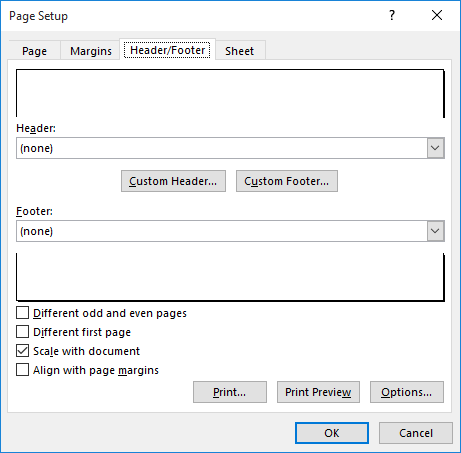
  4. Figure 1. The Header/Footer tab of the Page Setup dialog box.

  5. Click the Custom Footer button. Excel displays the Footer dialog box. (See Figure 2.)
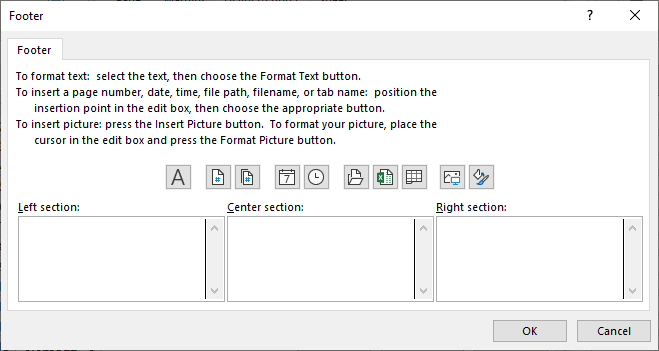
  6. Figure 2. The Footer dialog box.

  7. Place the insertion point in whichever section of the footer you want used for the page information—left, center, or right.
  8. Type Page followed by a space.
  9. Click the Page Number tool. The code "&[Page]" appears in the footer.
  10. Type a space, the word of, and another space.
  11. Click the Pages tool. The section now contains "Page &[Page] of &[Pages]."
  12. Close all the dialog boxes by clicking OK, as necessary.

It should be noted that you don't have to really use the page number tool or the pages tool in putting the footer together. You could just as easily have typed the proper code ("Page &[Page] of &[Pages]") in whatever footer section you wanted used.

The second method of adding such a footer is to follow these steps:

  1. Display the Insert tab of the ribbon.
  2. Click the Header & Footer tool, in the Text group. Excel immediately switches to Page Layout view, displays the Header & Footer tab of the ribbon, and positions the insertion point in the center section of the header.
  3. Near the left end of the ribbon, click the Footer tool. Excel displays various footer options.
  4. Choose the "Page 1 of ?" option. Excel adds the proper code to the center section of the footer and hides the Header & Footer tab of the ribbon.
  5. Display the View tab of the ribbon.
  6. Click the Normal tool. Your worksheet is returned to a normal view.

It doesn't really matter which of the techniques you use to add the desired footer. Both of them place the exact same code into the footer.

ExcelTips is your source for cost-effective Microsoft Excel training. This tip (13925) applies to Microsoft Excel 2007, 2010, 2013, 2016, 2019, 2021, and Excel in Microsoft 365.

Author Bio

Allen Wyatt

With more than 50 non-fiction books and numerous magazine articles to his credit, Allen Wyatt is an internationally recognized author. He is president of Sharon Parq Associates, a computer and publishing services company. ...

MORE FROM ALLEN

Assigning a Macro to a Button in Your Text

One way you can access macros is through the use of a button, added directly into the text of your document. This is done ...

Discover More

Rounded Corners for a Text Box

Text boxes are great for positioning information the way you want it to appear in your page layout. Fortunately, you ...

Discover More

Getting Rid of Empty Rows after Importing

Import data into a worksheet (or paste it there) and you may find that you end up with a group of blank cells you need to ...

Discover More

Create Custom Apps with VBA! Discover how to extend the capabilities of Office 365 applications with VBA programming. Written in clear terms and understandable language, the book includes systematic tutorials and contains both intermediate and advanced content for experienced VB developers. Designed to be comprehensive, the book addresses not just one Office application, but the entire Office suite. Check out Mastering VBA for Microsoft Office 365 today!

More ExcelTips (ribbon)

Last Saved Date in a Footer

When printing out a worksheet, you may want Excel to include, in the footer, the date the data was last saved. There is ...

Discover More

Copying Headers and Footers

Need to copy headers and footers from one worksheet to another? How about from one workbook to another? Here are some ...

Discover More

Setting Header/Footer Margins

Do you find that there is a lot of extra space around the data on your worksheet when it is printed? Changing the margins ...

Discover More
Subscribe

FREE SERVICE: Get tips like this every week in ExcelTips, a free productivity newsletter. Enter your address and click "Subscribe."

View most recent newsletter.

Comments

If you would like to add an image to your comment (not an avatar, but an image to help in making the point of your comment), include the characters [{fig}] (all 7 characters, in the sequence shown) in your comment text. You’ll be prompted to upload your image when you submit the comment. Maximum image size is 6Mpixels. Images larger than 600px wide or 1000px tall will be reduced. Up to three images may be included in a comment. All images are subject to review. Commenting privileges may be curtailed if inappropriate images are posted.

What is 8 - 4?

There are currently no comments for this tip. (Be the first to leave your comment—just use the simple form above!)


This Site

Got a version of Excel that uses the ribbon interface (Excel 2007 or later)? This site is for you! If you use an earlier version of Excel, visit our ExcelTips site focusing on the menu interface.

Newest Tips
Subscribe

FREE SERVICE: Get tips like this every week in ExcelTips, a free productivity newsletter. Enter your address and click "Subscribe."

(Your e-mail address is not shared with anyone, ever.)

View the most recent newsletter.