Mander has a worksheet for which he wants to change the background color. Once changed, he wants the color to be "unchangeable" by anyone else. Mander knows he can use worksheet protection, but that stops people from actually using the worksheet. He doesn't want to stop use of the worksheet; he just doesn't want the background changed once he sets it.
There are a couple of ways you can go about achieving what you want. The first is to examine how you are applying your worksheet protection. The background color is considered a format of a cell, so all you need to do is to make sure you protect the worksheet and allow all changes except to the formatting. Follow these steps:
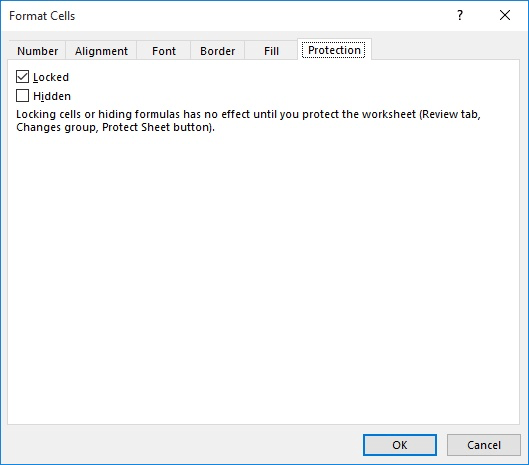
Figure 1. The Protection tab of the Format Cells dialog box.
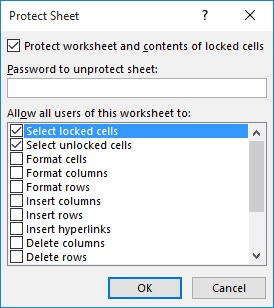
Figure 2. The Protect Sheet dialog box.
Now people can make any changes to whatever cells were selected in step 1, with the exception of changing any formatting. This means that your background color remains protected.
There is a problem with this approach—you may want to allow the user to change other cell formatting, such as how numbers, dates, or times are displayed. Since you've protected the formatting of the sheet, however, these things cannot be changed.
To get around this, the only thing you can do is to use a macro-based approach. A simple way is to create an event handler that modifies the background color of the worksheet whenever it is activated. This way, if someone modifies the background color, the next time the worksheet is activated those changes will be effectively done away with. Here's an example that sets the background color to a turquoise color:
Private Sub Worksheet_Activate()
    With Cells.Interior
        .Pattern = xlSolid
        .PatternColorIndex = xlAutomatic
        .Color = RGB(0, 192, 192)
        .TintAndShade = 0
        .PatternTintAndShade = 0
    End With
End Sub
This macro needs to be added to the code sheet for whatever worksheet you want it used with. This particular event handler changes the background of all cells. If you want to affect only a certain number of cells, then you can change the structure (the With structure) so that only specific cells are modified.
ExcelTips is your source for cost-effective Microsoft Excel training. This tip (4268) applies to Microsoft Excel 2007, 2010, 2013, 2016, 2019, 2021, and Excel in Microsoft 365.

Create Custom Apps with VBA! Discover how to extend the capabilities of Office 365 applications with VBA programming. Written in clear terms and understandable language, the book includes systematic tutorials and contains both intermediate and advanced content for experienced VB developers. Designed to be comprehensive, the book addresses not just one Office application, but the entire Office suite. Check out Mastering VBA for Microsoft Office 365 today!
Cell contents and cell formatting are, in Excel, largely independent of each other. You can enter something in a cell and ...
Discover MoreIt's easy to automatically set the contents of one cell to be equal to another cell. But what if you want to copy the ...
Discover MoreExcel allows you to format numeric data in all sorts of ways, but specifying a number of digits independent of the ...
Discover MoreFREE SERVICE: Get tips like this every week in ExcelTips, a free productivity newsletter. Enter your address and click "Subscribe."
There are currently no comments for this tip. (Be the first to leave your comment—just use the simple form above!)
Got a version of Excel that uses the ribbon interface (Excel 2007 or later)? This site is for you! If you use an earlier version of Excel, visit our ExcelTips site focusing on the menu interface.
FREE SERVICE: Get tips like this every week in ExcelTips, a free productivity newsletter. Enter your address and click "Subscribe."
Copyright © 2026 Sharon Parq Associates, Inc.
Comments