Please Note: This article is written for users of the following Microsoft Excel versions: 2007, 2010, 2013, 2016, 2019, and 2021. If you are using an earlier version (Excel 2003 or earlier), this tip may not work for you. For a version of this tip written specifically for earlier versions of Excel, click here: Adjusting Row Height for Your Text.
It is fairly easy to put more text in a cell than can be readily displayed. While you can widen the column to fit your text, sometimes this is not a good (or viable) option. Instead, you can wrap the text within the cell, so that the cell height is increased to display all the text. Follow these steps:
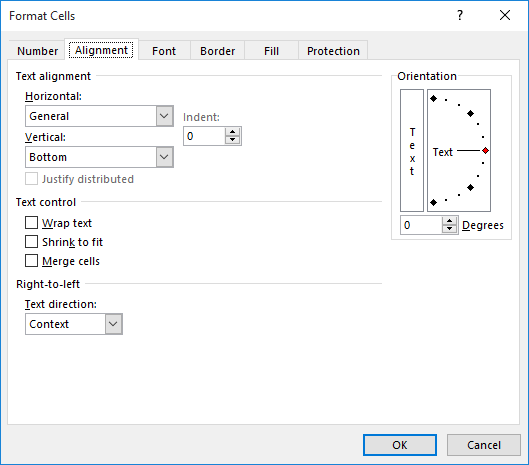
Figure 1. The Alignment tab of the Format Cells dialog box.
It is important to remember that your row height will only increase automatically if you haven't explicitly specified the row height. (It also won't work properly if you have merged cells in your row. More on that in a moment.) If the height doesn't expand to fit the contents of the cell, follow these steps, after doing the previous steps:
The text should now be wrapped within the cell and all visible.
If your row has merged cells in it, this can present its own set of challenges. This is better addressed in a different tip, which you can find here.
ExcelTips is your source for cost-effective Microsoft Excel training. This tip (9578) applies to Microsoft Excel 2007, 2010, 2013, 2016, 2019, and 2021. You can find a version of this tip for the older menu interface of Excel here: Adjusting Row Height for Your Text.

Program Successfully in Excel! This guide will provide you with all the information you need to automate any task in Excel and save time and effort. Learn how to extend Excel's functionality with VBA to create solutions not possible with the standard features. Includes latest information for Excel 2024 and Microsoft 365. Check out Mastering Excel VBA Programming today!
Excel automatically formats subtotals for you. But what if you want to change the default to something more suitable for ...
Discover MoreNeed to check the height of all the rows in a worksheet and then adjust them if a particular criterion is met? This tip ...
Discover MoreWhen you format a cell so that the information within it can wrap to multiple lines, you may be surprised if Excel ...
Discover MoreFREE SERVICE: Get tips like this every week in ExcelTips, a free productivity newsletter. Enter your address and click "Subscribe."
2022-04-23 16:30:48
John Mann
I didn't know the shortcut CTRL+SHIFT+F for format - I've used CTRL+1 for the same purpose.
Got a version of Excel that uses the ribbon interface (Excel 2007 or later)? This site is for you! If you use an earlier version of Excel, visit our ExcelTips site focusing on the menu interface.
FREE SERVICE: Get tips like this every week in ExcelTips, a free productivity newsletter. Enter your address and click "Subscribe."
Copyright © 2026 Sharon Parq Associates, Inc.
 Please Note:
This article is written for users of the following Microsoft Excel versions: 2007, 2010, 2013, 2016, 2019, and 2021. If you are using an earlier version (Excel 2003 or earlier), this tip may not work for you. For a version of this tip written specifically for earlier versions of Excel, click here:
Please Note:
This article is written for users of the following Microsoft Excel versions: 2007, 2010, 2013, 2016, 2019, and 2021. If you are using an earlier version (Excel 2003 or earlier), this tip may not work for you. For a version of this tip written specifically for earlier versions of Excel, click here:
Comments